Articulated (Wiggle) Palmer Chenille Baitfish

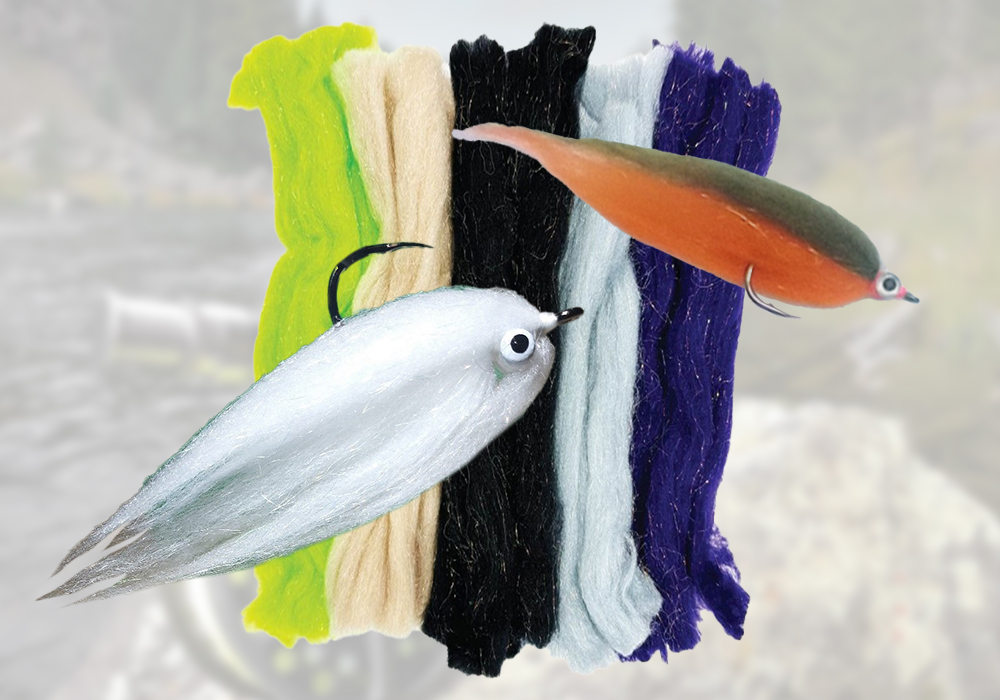
Palmer Chenille is a great material for making trimmed baitfish patterns.  By utilizing just a few of these tricks you can easily make some sexy streamers like this one.
First we will construct the tail of our articulated baitfish.  Using a wire base (this is a Partridge Waddington Shaft) or a hook shank cut off at the bend, insert the wire form in the vise as shown.

1

The body and tail of this fly is made with Palmer Chenille.  Palmer Chenille is a flashy mylar based chenille with all of the fibers on one side of the thread.  For the tail cut off an 1/8″ wide portion of fibers from the side of the chenille and tie it in as a tail as shown.  Thread size isn’t critical for this application and we usually use UTC 140 denier or UTC GSP 75 denier.

2

Tie down the excess chenille.  If you prefer other materials such as Marabou can be used as the tail.

3

Now tie in a piece of size medium Palmer Chenille.  This will be wrapped forward to make a dense body in the next few steps.  This part of the fly will essentially become an extended body for our baitfish.

4

Prior to wrapping the chenille advance your thread up the shank toward the eye.

5

Wrap the chenille forward in close spaced wraps.  While you are wrapping stroke back the fibers of the chenille with your off hand so they are not trapped under the core of the chenille.

6

Continue wrapping until all but the eye of the shank is covered.  Once you’ve done so, tie down the chenille, trim off the excess and whip finish your thread.  You can now remove the extended body from the vise.

8

Insert a saltwater hook in the vise.  The specific hook you choose isn’t critical (this is a size 2/0 Partridge Predator hook) although it’s shank length and gap width will determine the proportions of your finished fly.  Once the hook is mounted in the vise add your thread as shown.  UTC 140, 210 or UTC GSP thread is ideal for this application.

9

Now we want to add the extended body we made earlier.  Using a piece of nylon coated wire (or heavy monofilament) pass one end of thru the eye of the extended body and tie it in as shown.  For this fly I am using 26lb American Fishing Wire Surflon Micro Supreme.

10

Cut the excess wire in front of the thread and firmly tie it down as shown.  Leave enough of a loop that the extended body can freely move.

11

This step isn’t critical, but it makes for a nicer looking fly.  Now we want to disguise the gap between the extended body and the main body of the fly.  To do this we want to tie in a collar of size large Palmer Chenille.  This is tied in exactly the same way you tied in the tail.

12

Now tie in a piece of size large Palmer Chenille.  We will wrap this forward just like we did the smaller size on the extended body.

13

When wrapping the chenille forward it is helpful to gently pull the material tight after each wrap.  Continue to stroke the fibers of the chenille back as you wrap.

14

Wrap the chenille all the way to the back of the hook eye and tie it down.  Trim off the excess and whip finish your thread.  The fly is now ready to be trimmed to shape.

15

The most difficult part of tying this fly is trimming it to the desired proportions.  To aid in this procedure we suggest taking the fly out of the vise and laying it on a flat surface.  We suggest using a  brush or comb to brush the fibers out as shown.

17

Using a pair of double edged hair sheers (or an extremely sharp pair of scissors) trim the fly into the a general baitfish shape.  It is usually best to trim from the tail of the fly towards the front.  Don’t worry if the fly isn’t perfect.  The next step will correct most trimming mistakes.

20140805_100139
 

Thinning sheers such as the Anvil Ultimate Taperizer are ideal for doing the final trim work on the fly.
20140805_100335
Now we are ready to add our eyes.  Glue them in with 5-minute epoxy, Zap-Gel, or a UV acrylic such as Bug Bond.  For this fly I’ve used Holographic Dome Eyes in the super cool “Mirage” finish.
20140805_100457
Permanent marking pens such as these Prismacolor art markers are perfect for coloring the fly.  With them you can imitate just about any baitfish.  Copic airbrush pens would also work great.
20140805_101021
Here is the finished fly in the vise.  The photo really doesn’t do it justice — it is a shiny, sexy looking fly with a neat wiggle due to the extended body.  By varying the length of the fly and colors you choose you can imitate just about any baitfish.  Check out these baitfish for example.

20140805_101248