Palomino Midge

Fly of the Month – Pat’s Sow Scud

by Pat Neuner, Wapsi Product Development Manager
scud Sow Bug

I’ve had success with this pattern all across the country wherever scuds and sow bugs are a primary food source for trout.  Here are the steps to tying the fly:

step oneInsert a heavy wire nymph hook into the vise and wrap the hook shank with .020 wire as shown.  I use size 14 -18 most of the time.  Don’t hesitate to experiment with hook shapes.  I really like the look of the fly with a long shanked curved nymph hook such as our Lighting Strike NH7 (Nymph/hopper hook).  For this fly I am using a 2x heavy wire Lightning Strike NW1 (Nymph/Wet fly hook).


2


You can use any fine thread but my preference is UTC Mono in size .004 in smoke color. The mono thread helps to make a nice segmented body.
 
3Next we want to prepare the shellback.  Cut a thin strip of Thin Skin. Pull off the paper backing prior to tying in the strip.  I like to use the “Fly Specks” print pattern in tan/black color for tan flies and the clear/black for dun/gray flies. 


5


Tie in the Thin Skin strip as shown.


6


Now tie in three pieces of Ostrich Herl as shown.


8


Twist the three pieces of Ostrich Herl.  This will essentially make a “yarn” that can be wrapped forward.   


9

Wrap the Ostrich Herl forward toward the back of the hook eye.


10


When you reach the rear of the hook eye tie off the Ostrich Herl.  It isn’t too critical that the wraps be perfect – you just want to cover the hook shank with the herl. 


11


Here is a photo of the body of the fly prior to the shellback being pulled over.


12


Pull the Thin Skin over the back of the fly to form a shellback as shown.  For this photo the vise jaws have been rotated to give you a clearer view of the top of the fly.


13


Trim off the excess Thin Skin near the eye and secure the strip with several thread wraps.  We are now ready to rib the fly.You’ll notice that I didn’t tie in a piece of wire as ribbing material.  Since this is a fly I tie in large numbers I take a shortcut by using my fly tying thread as a rib.  It doesn’t make for as durable a fly, but I usually lose the fly before I have to worry about it falling apart after caught fish.


14


Now we will rib the fly.    Take your thread and pull it along the side the body to the back of the hook.  From this point begin to rib the fly toward the eye.


15


Rib the fly by spacing the thread wraps evenly.  This will make for distinctly pronounced segmentation.Once you’ve made a few thread wraps at the head of the fly finish it with a whip finish knot.  For this photo I’ve rotated the fly in the vise once again to show you the top view of the fly.


18


This is a side view of the fly.  You’ll notice its’ profile resembles both a scud and a sowbug.  Most of the time I leave the fly exactly as pictured.  If the fish are keying in on one food form vs. another then I may alter the appearance of the fly somewhat to make it look a bit more realistic.


19Since the underbody of the fly is made with .020 round lead wire it can be flattened horizontally to imitate a sowbug more precisely or vertically to look more like a scud.  You can then brush the fibers of the Ostrich Herl to resemble legs on the side or underneath of the fly.

To flatten the lead, use a small pair of smooth jaw pliers or the inside of your fly tying scissors behind the blades.  The two opening photographs in the article show the fly flattened to both profiles.

Although I didn’t mention it in the article, by varying the profile of this fly slightly and adding a dubbed thorax the fly makes for an excellent caddis larvae or pupae imitation.  The best part of tying flies with Ostrich Herl is that they are fast and easy to tie.  Give the Sow-Scud a try sometime on your local waters.  Hopefully it’ll work for you as well as it does on the trout here in the White River system.

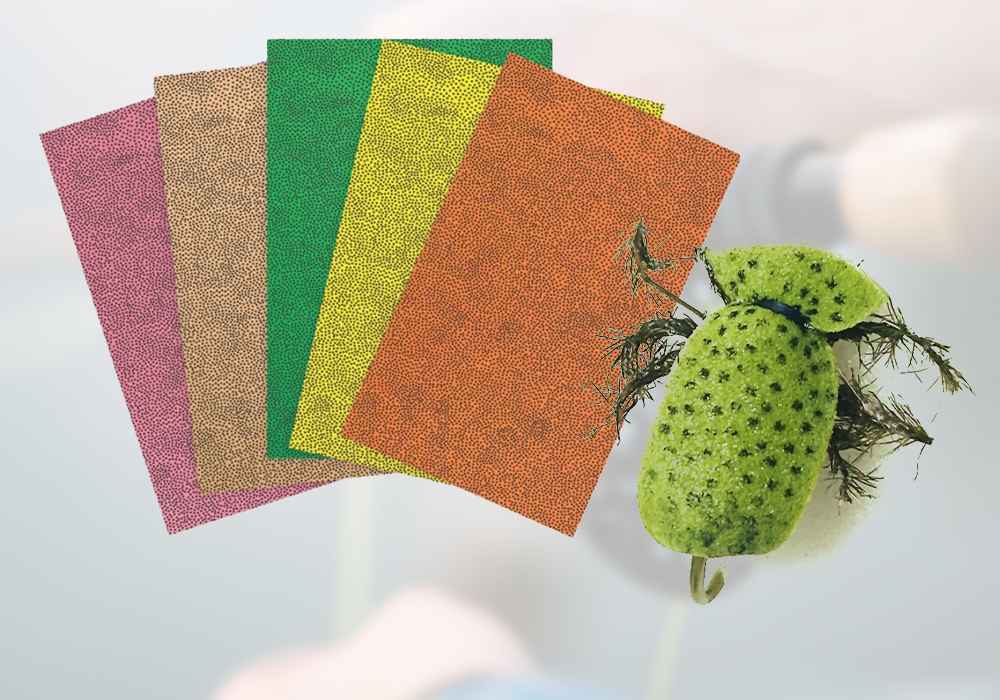
Foam Bettle

Ant, Beetle Tying Instructions

Ants and Beetles are a food available to trout the majority of the year.

Materials Needed for the Foam Ant:

DF1 or DF3 Lightning Strike dry fly hook
70 Denier Ultra Thread
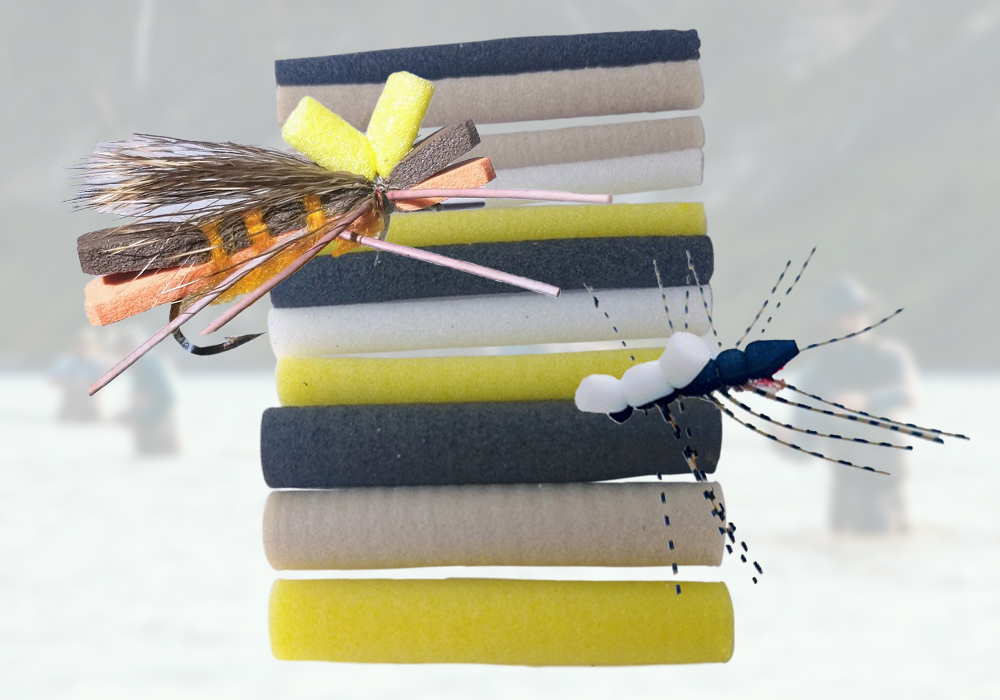
Cylinder Foam
Dry fly hackle for legs
PFK02 Tying Instruction 1 PFK02 Tying Instruction 2 PFK02 Tying Instruction 3
Start the thread on the hook at the center of the hook shank. Tie the foam cylinder onto the center of the hook shank as shown above. Take a webby hackle and tie it in by its tip at the center of the foam cylinder. Make two or three turns of the hackle to form the legs of the fly. Trim off the excess hackle and whip finish.
PFK02 Tying Instruction 4
The fly is now complete.

Materials Needed for the Foam Beetle:

DF1 or DF3 Lightning Strike dry fly hook
70 Denier Ultra Thread
Cylinder Foam
Peacock Herl for legs
PFK02 Tying Instruction 5 PFK02 Tying Instruction 6 PFK02 Tying Instruction 7
Start the thread at the center of the hook shank. Tie in the cylinder by its tip, and wrap the thread back until it is opposite the barb. Tie in four or six strands of peacock herl. Twist the herl strands together to form a rope and wrap it forward to the thread. Tie them off and trim off the excess. Pull the foam cylinder up over the herl body and secure it with your thread. Trim the head to shape and whip finish.
PFK02 Tying Instruction 8
The finished fly is shown above.

Chernobyl Ant

Tying Instructions

The Chernobyl Ant is a very effective, buoyant, easy to see attractor dry fly that was popularized in the Western United States. Many fly tyers use a piece of bright foam on top of the fly as an indicator and fish nymphs below it on a dropper rig. It can be tied in a wide range of sizes and colors so do not hesitate to experiment. + Read More

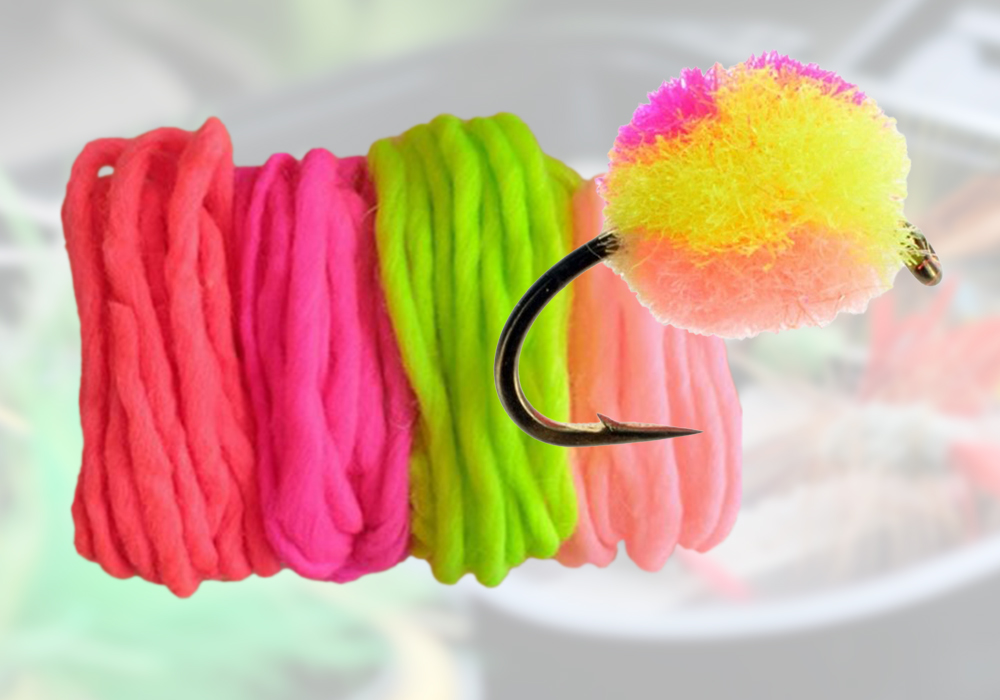
Egg Foo Yarn

  • Makes everyone an egg tying expert
  • Great results every time
  • Awesome colors

So easy — So cheesy.

Egg Foo Yarn is a specially designed egg yarn that makes tying egg flies easy. It is so easy to use that even a beginner, who has never tied an egg fly, can quickly master the technique to tying perfect eggs. + Read More

Razor Midge

Tying Instructions

The Razor Midge accurately imitates the position of midge pupa in the surface film. It can be tied in a wide range of colors and sizes. The use of Translucent Razor Foam makes a realistic natural appearance.

Materials Needed for the Razor Midge:

DF1 or SE1 Lightning Strike dry fly hook
70 Denier Ultra Thread
Razor Foam
Midge Flash
Super Fine Dubbing or Dubbing of your choice
 

PFK04 Tying Instruction 1 PFK04 Tying Instruction 2 PFK04 Tying Instruction 3
Start the thread at the center of the hook shank. Take a matchstick sized piece of razor foam and trim one end to a point. Tie it onto the hook as shown. Lift up the forward portion of the foam and tie in 4 – 8 strands of midge flash in front of it. This will become the wings of your fly.
PFK04 Tying Instruction 4 PFK04 Tying Instruction 5 PFK04 Tying Instruction 6
Dub the hook to just behind the eye. Divide the strands of midge flash so that you have an equal amount of strands on each side of the fly. Pull the front of the foam over the dubbed head you just formed and tie it down as shown. Whip finish to complete the fly. The fly is now finished and ready to fish.