Fly Tying Tip of the Week – Custom Dubbing Blends

Custom Dubbing Blends

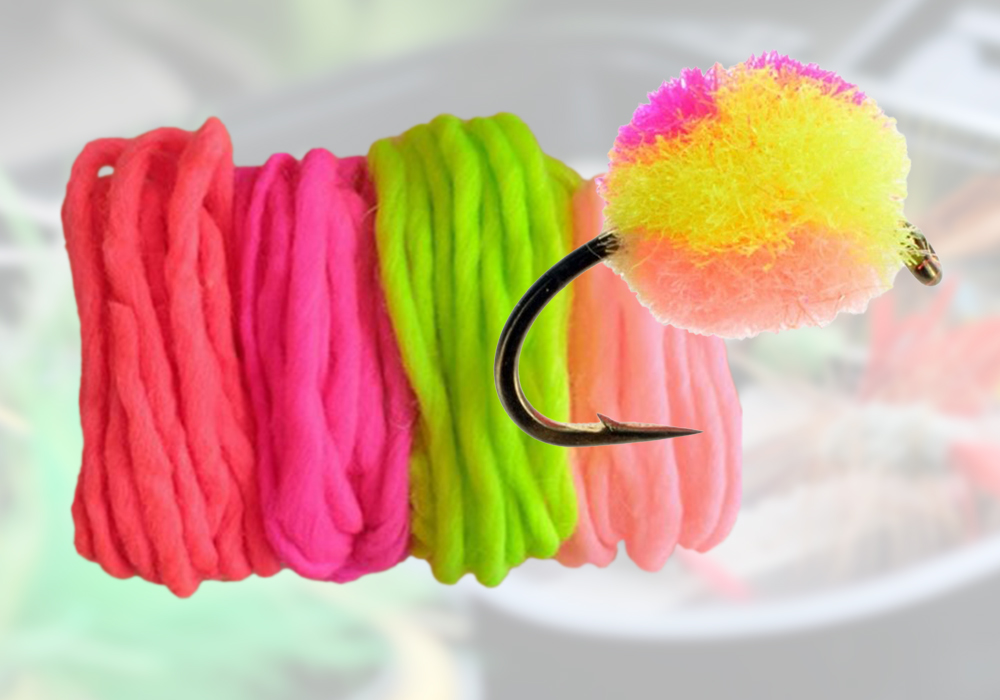
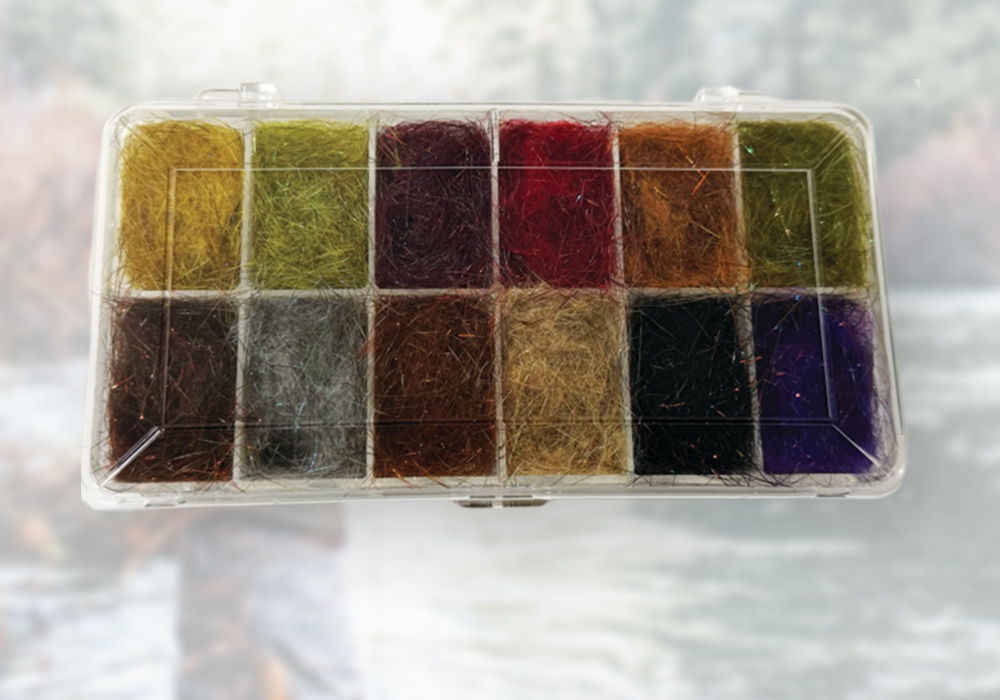
At Wapsi we produce a huge range of dubbing in a mind staggering assortment of colors and textures.  Although some dubbings such as Superfine and Antron are fully synthetic most are blends of synthetics and/or natural fur.  Each of our blended dubbing has specific color and texture formulas that make them unique.  We are constantly experimenting with new color formulas and textures in the development of our signature and custom dubbings – many of which we produce in bulk for offshore fly factories.

You can make your own custom dubbing blends at home using only a few basic tools.  This video from Tim Flagler will show you how:

Making a Custom Dubbing Blend from Tightline Productions on Vimeo.

Tip of the Month – Storing Natural Products

Tip of the Month for August 2014 – Storing your Natural Materials Safely


Aug wk 1 keough hackleFor most of us organizing our fly tying materials is a never ending quest – we are always tinkering with new systems and looking for a better way to store our materials.  Synthetic materials pose few problems.  The key to storing them is keeping them in some sort of neat, orderly fashion so that the material you are looking for is easy to find.  Natural materials however require more thought:

Feathers

Neck and Saddle feathers on the skin require special care.  The best way to store them is in their original bag with the cardboard backing they came with.  The cardboard backing is designed to absorb any excess oils on the skin.   Many tyers like to add a piece of paper towel between the cardboard and the skin to absorb the oil.  The paper towel can then be replaced periodically as needed.  If you must put more than one neck or saddle in each bag then be sure to put them “skin to skin” so that the natural oils do not bleed onto the feathers.

We suggest the feathers then be stored in a plastic container with a secure closing lid.  Moth balls, urine blocks, or cedar should be added to the container before it is sealed.  While cedar and mothballs (naphthalene) are popular choice among fly tyers for repelling insects, urine blocks are much more effective because they contain paradichlorobenzene, a fumigant insecticide that repels and kills organisms such as mold, mildew, and insects.

mothballscedarballs pottypatties

Fly Tying Knots

The Jam Knot – for attaching the thread on the hook
Jam Knot Instruction 1 Jam Knot Instruction 2 Jam Knot Instruction 3
At the middle of the hook, wrap the thread forward 3 to 4 wraps. Wrap the thread back and forth upon itself 3 to 4 times. Hold up the thread tag and trim it off. The thread is now completely secured to the hook.
The Thread Base – important tips
Thread Base Tip 1 Thread Base Tip 2 Thread Base Tip 3
Some flies require that a base of thread be wrapped over the hook as shown above. Start at the eye and wrap back towards the bend. When securing lead wire to the hook, it is not necessary to completely cover it with a thread base. Use just enough thread wraps to secure it to the hook shank. On all flies, be sure to leave room behind the eye of the hook for the half hitch knot that finishes the fly.
The Half Hitch – for finishing the fly
Half Hitch Instuction 1 Half Hitch Instuction 2 Half Hitch Instuction 3
Holding the bobbin stationary in your left hand, take a fingertip of your right hand and lay it on the thread. Rotate the fingertip to form a loop. Place the tip of your finger (and the loop of thread) against the eye of the hook. Pull the thread tight and the half hitch knot is complete. Repeat 2 to 3 times, trim the tag end, and the fly is finished.

Spinning Hair

There is nothing more fun and exciting than watching a fish rise to a fly floating on the surface. Many floating flies are constructed using a head and/or body made of spun deer body hair. The technique of spinning hair is described below.

Spinning Hair Instruction 1 Spinning Hair Instruction 2 Spinning Hair Instruction 3
Snip a pencil diameter bundle of deer hair from the hide and pull out any fuzz from the butts. Over a bare shank, lay the hair on top with your left hand, making two loose wraps anround the middle of the hair. Firmly tighten the thread to flare the hair and very slowly release tension with your left hand.
Spinning Hair Instruction 4 Spinning Hair Instruction 5 Spinning Hair Instruction 6
While the hair is spinning make one or two tight wraps through the center of the hair. Wrap your thread to the front of the hair and put a half hitch on the shank to secure the bundle. Tie in a second clump of deer hair and repeat the previous steps.
Spinning Hair Instruction 7 Spinning Hair Instruction 8 Spinning Hair Instruction 9
Pack the hair back with your fingers. This will allow you to spin more hair on the hook for greater floatation. Continue to add hair clumps to the shank until the desired area of the hook is covered. Tie off your thread. Trim the hair to shape by either using scissors or a razor blade.

Wrapping Hackle

Feathers are often wrapped around the hook to imitate legs, provide additional movement to the fly, or aid in floatation. This technique is commonly referred to as hackling

Hackling Instruction 1 Hackling Instruction 2 Hackling Instruction 3
Prepare the feather (hackle) by shortening some fibers along the base of the stem. The trimmed fibers will stay in place once tied down. Tie the hackle in over the prepared area. Make a few wraps of thread to secure the hackle and trim off the unwanted tag of material. Take your hackle pliers and grasp the hackle. Pull the hackle so it is pointing upwards.
Hackling Instruction 4 Hackling Instruction 5 Palmering
Wrap the hackle forward (clockwise) in two to three tight turns. Each wrap should be directly in front of the previous wrap without any gaps. Secure the hackle tip with several thread wraps and trim off the excess hackle. One variaion of this techinque, called palmering, occurs when you start at the back and wrap the hackle forward in evenly spaced turns.

Dub Dubbing

Dubbing is a special technique used to attach natural fur and synthetic fibers to the hook. Essentially the fur and/or fibers (commonly referred to as dubbing) are twisted onto the thread forming a thin tapered yarn that can be easily wrapped around the hook.

Dubbing Instruction 1 Dubbing Instruction 2 Dubbing Instruction 3
Pull out a tiny amount of dubbing from the bag. The less you use, the easier it is to put on the thread. Place the dubbing against the thread and squeeze it tightly between your thumb and index finger. Now twist the dubbing by rolling it in one direction around the thread. Roll the dubbing until it is tight on the thread and tapers to a point on each end.
Dubbing Instruction 4 Dubbing Instruction 5 Dubbing Instruction 6
Push the dubbing up the thread until it touches the bottom of the hook shank. Wind the dubbed thread forward in even wraps without any gaps between wraps. If necessary, add more dubbing to the thread by repeating the technique. Wrap forward until the desired area is covered with dubbing. Pinch off any excess material and make 3 to 4 additional thread wraps to secure the material.