Wapsi Fly
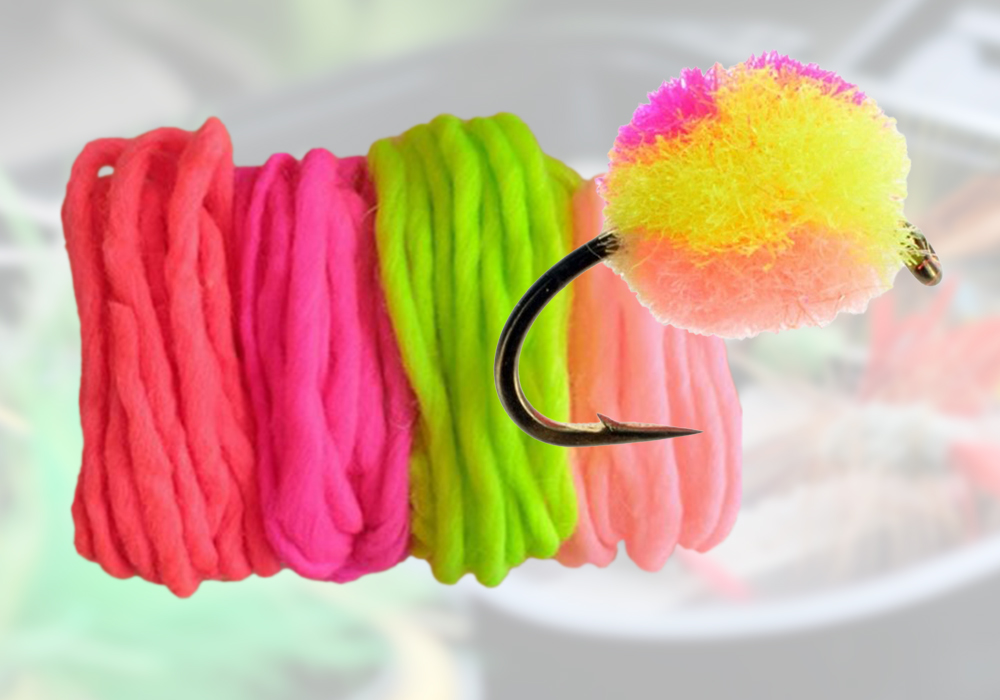
with Antron Tri-Lobal Fibers
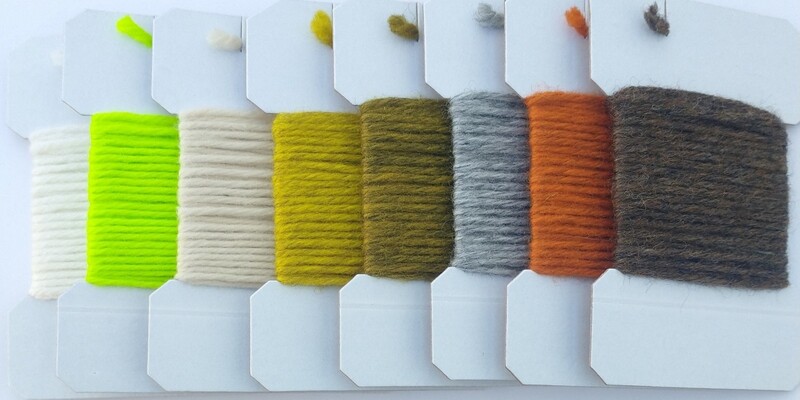
Fire Egg Yarn
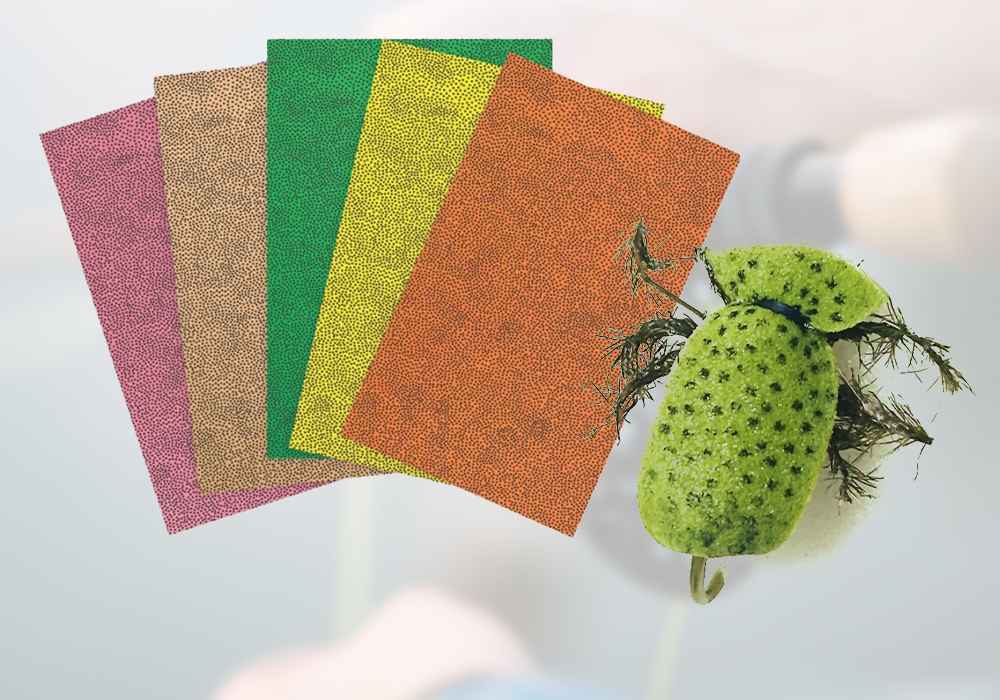
Realistic, Natural Patterns
Fly Spec Foam
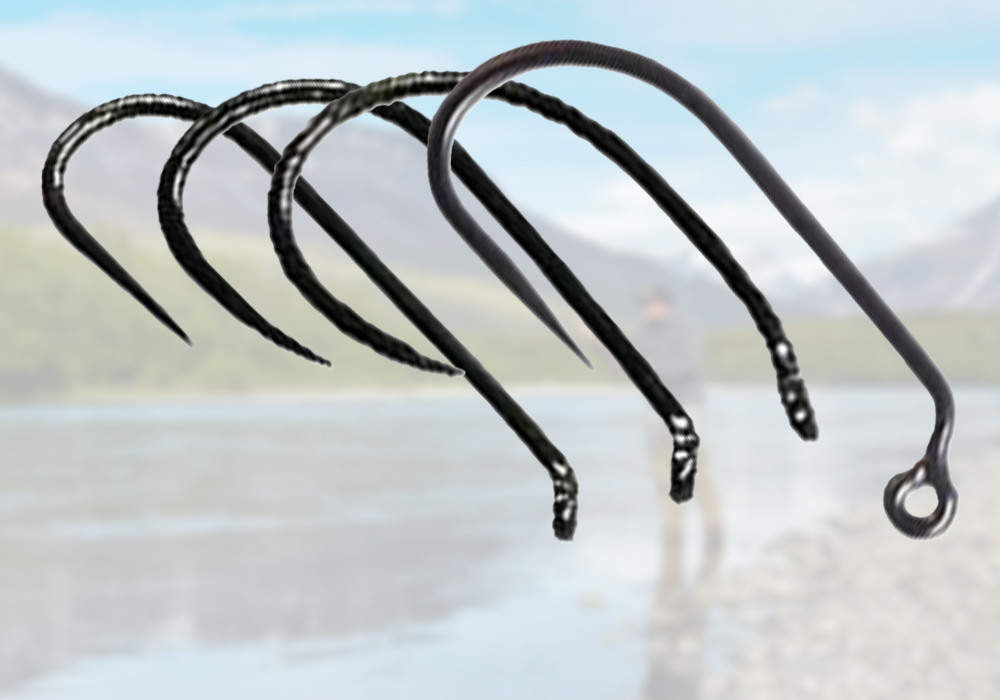
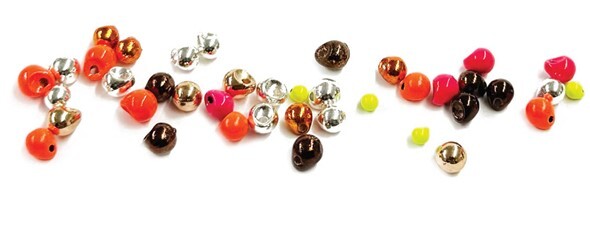
Forged Carbon Steel
New Lightning Strike Barbless Hooks
For Medium to Large Nymphs and Streamers
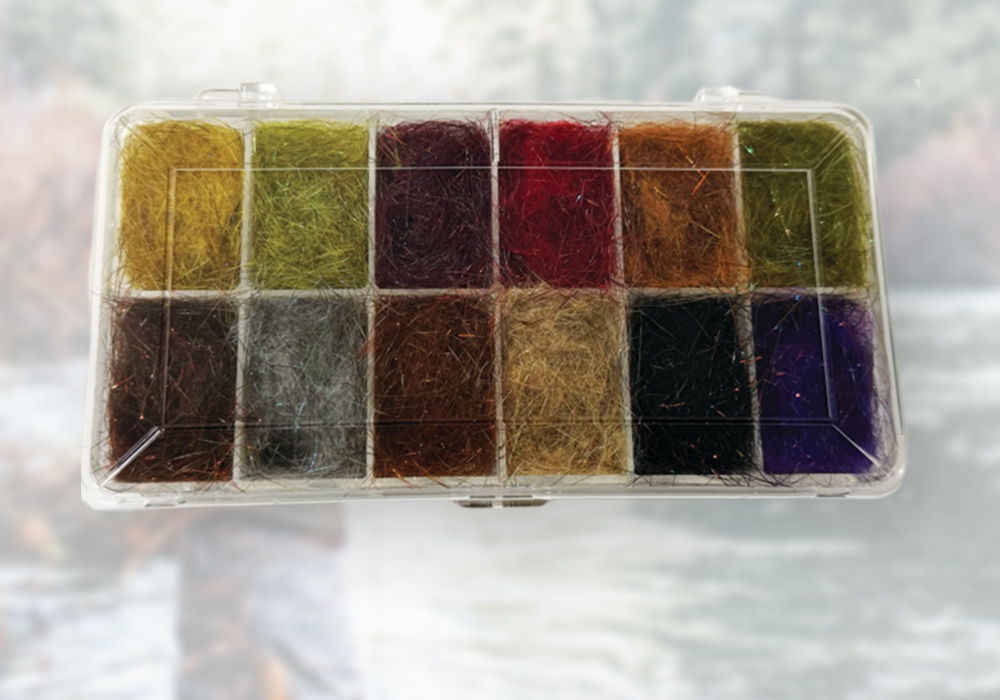
Major Spike Dubbing
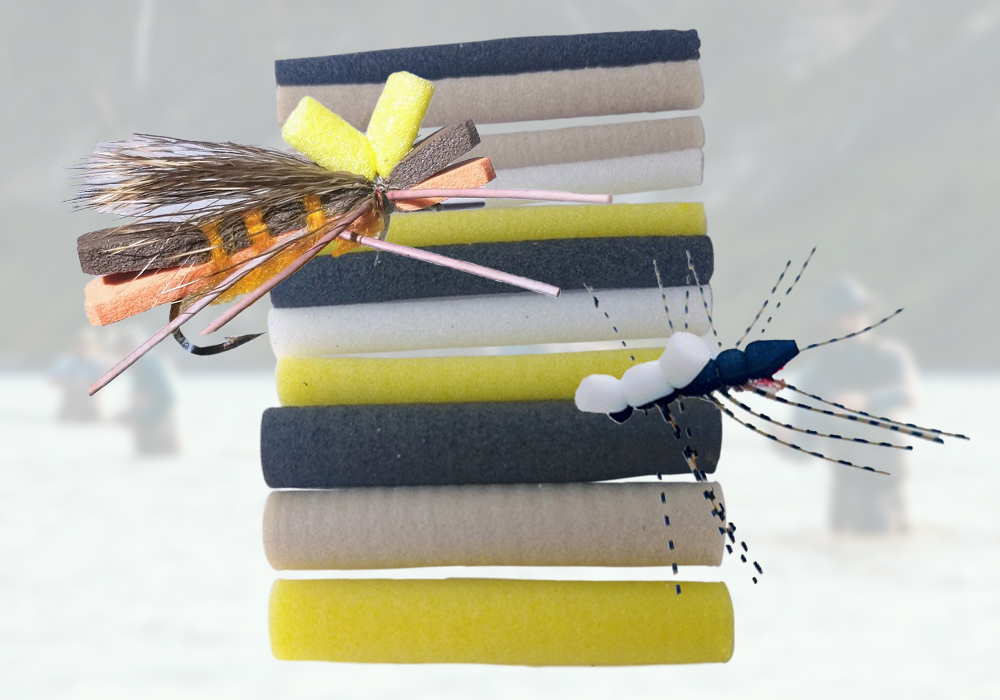
made with Evasote Foam
EZ Dropper Foam Cylinders
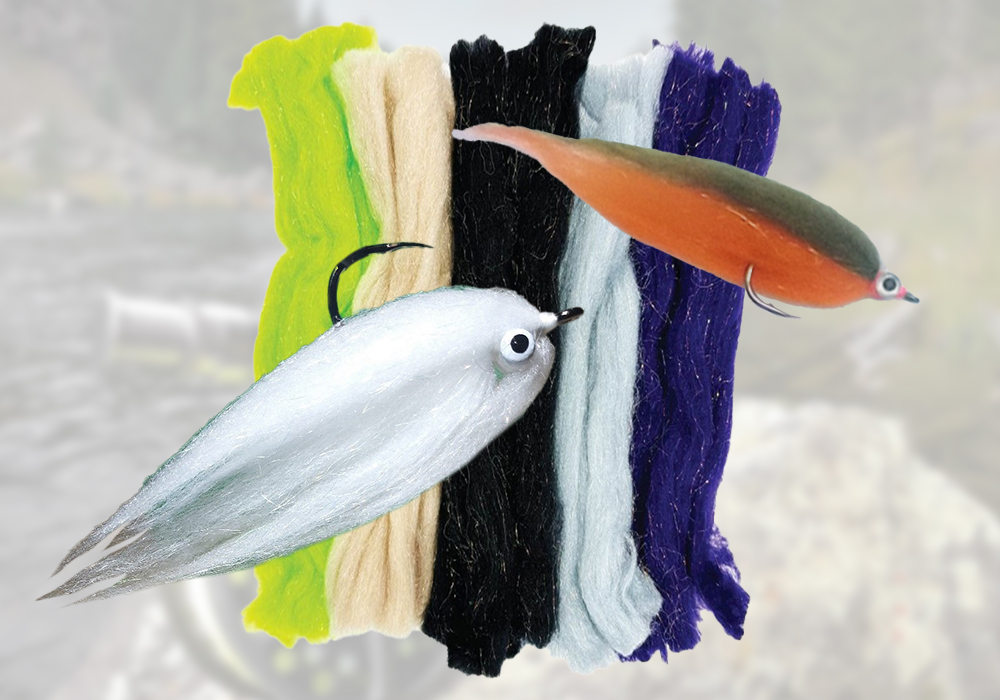
Synthetic Living Fibers
SLF Pro Wing
Top Categories
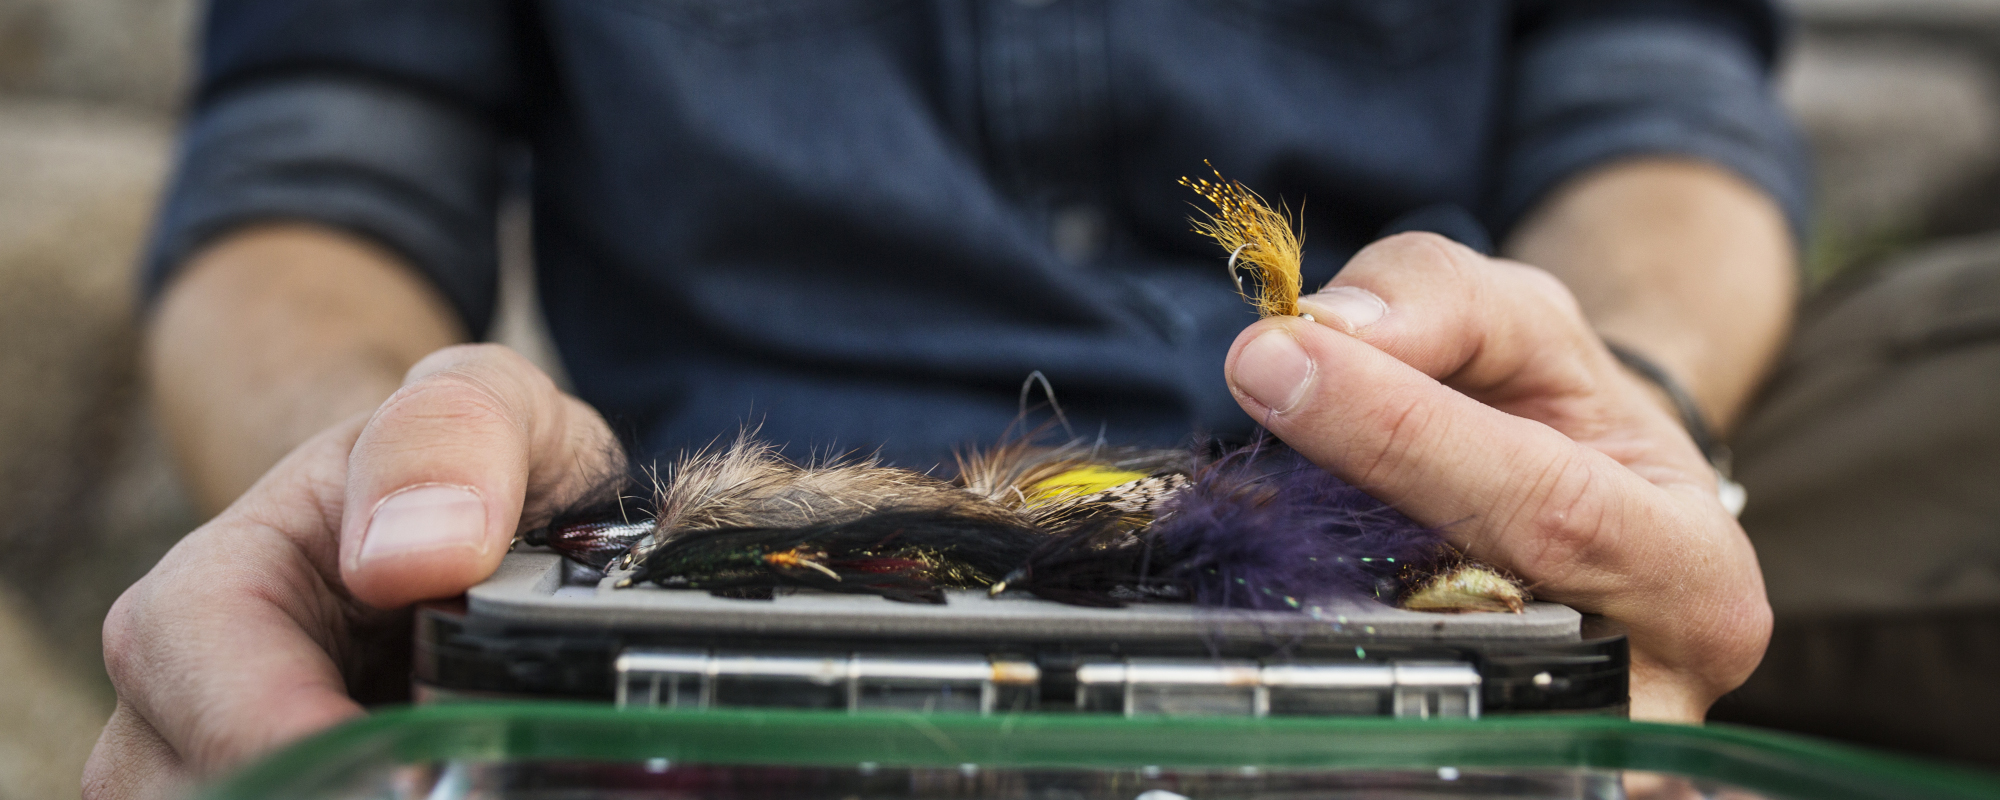
Tips & Tricks From The
Fly Tyer's Room
The place for fly tying videos, instruction, technical information, fly pattern recipes,and all things fly tying. Check back here frequently because we are constantly adding new videos and information.
The Schmuecker Family
A Wapsi Story
Founded in 1945, Wapsi Fly is the world's largest manufacturer and wholesale distributor of fly-tying materials. Wapsi employs over 40 full-time employees, and their manufacturing facility spans over 62,000 square feet with plans for additional expansion.
Learn more about the history of Wapsi and how this family-owned business pioneered fly-tying materials.
Learn more about the history of Wapsi and how this family-owned business pioneered fly-tying materials.